TL; DR#
- I started feeling I wanted to reduce costs for my blog management, have multilingual blog posts, and try something new
- So, I migrated Cloudflare Pages + Cloudflare Registrar structure for my blogging website management from Hatena Blog + Muu muu domain service.
- Then, I was able to reduce costs for my blog website, have multilingual blog posts, and learned something new, mostly related with Cloudflare during this journey of a blog move.
Context#
I have been using Hatena Blog (Japanese blogging service) with my custom domain blog.shoheikawano.com since a long time ago. For this domain management, I was using muu-muu domain service which is also a Japanese domain service with DNS configuration capabilities and so on.
In this article, I try to capture briefly how the journey of my blog moving party went - why and how (briefly, not in too much details) I did the migration.
Why moving away from Hatena Blog?#
Reducing costs for the Blog management service#
You can use Hatena blog for free basically if you do not care about using your own custom domains or having rich configurability, for example, turning off display ads onto your blog posts.
If you care any of these above, then you will need to subscribe to one of their paid plans. It was great for me to start off with Hatena Blog as it was very popular (and still is) for engineers in Japan to write and manage their blog posts. So I was playing those subscription costs happily.
However, since 2025, I started feeling that I want to have more control over my blog articles, its management system, etc. Also I wanted to try out managing my blog posts on GitHub - thus decided to look into GitHub Pages of course. Using GitHub Pages, you can host your own blog website without any additional cost, which sounded great to me. (Of course you will still need to pay for your custom domains if you want to keep using it for your own blog website)
Adopting to multilingual#
Also I wanted to try adopting my blog posts to multilingual - Japanese and English. I’ve always felt that I needed to improve my English writing skill. I know it is not perfect (as you can feel probably right now as well). One of the best ways to improve my writing skill for English would be to actually write English; then why not making my blog posts multi-lingual and write English ver first, and converting them into Japanese afterward? Hatena blog, as far as I know, does not support multi-lingual support by paths, unless you actually write and publish two blog posts separately, which was not what I wanted - I wanted to have a pair of blog posts both Japanese and English, separated with a path /ja/ , which is exactly the way this site is structured right now.
Trying something new#
The last reason would be simply a curiosity to trying something new - I had rarely tried GitHub Actions + GitHub Pages before, and I had been admired to have my own blog website hosted on GitHub Pages as I was a software engineer; I thought now is the time to try it out! Also, I was interested in Hugo as well, in which you have access to many different kinds of free theme templates available. So the journey began.
Journey#
Hatena Blog → GitHub Pages#
The first thing I tried was to move all of my blog posts from Hatena Blog to GitHub Pages. You can use this exporter tool officially available from Hatena to export all of your blog posts in MT(Movable Type) format. If you are using Hatena Blog right for your blog and are interested in moving it into GitHub Pages, then I would recommend searching for articles that explain how to do that in detail. Then, you can setup GitHub Pages to host your blog on it. QuickStart for GitHub Pages
Custom domain configuration#
After setting up, you can configure your custom domain setup in GitHub pages. You may need to update your DNS setup; I needed to do that to change its configuration from Hatena Blog based config to GitHub Pages one. I did that through Muu-muu domain console. Then, somehow it took A LOT of time to be applied. By doing some brief research, it looked like it will take several hours to 1-2 days at maximum - I waited a whole day, did not see a change there, so I somehow thought I should also change DNS provider service as well - from Muu-muu domain to Cloudflare Registrar as I somehow was confident that Cloudflare could be faster to apply DNS changes than Muu-muu domain. (I do not know it really mattered much) But at least, price-wise, Cloudflare Registrar was offering a cheaper annual cost than Muu-muu domain so it was good enough for me to decide to move onto Cloudflare Registrar anyway.
Muu-muu domain → Cloudflare Registrar#
So, while I was unfinished with moving away from Hatena Blog to GitHub Pages, I started working on moving from Muu-muu domain to Cloudflare Registrar. To transfer domains, you will need to send a request to transfer your domain to your current domain management service.
To do that, you will first need to change your Who is? information config to display your real information, not the one provided as an alternative from your domain management service for security reasons, otherwise you cannot request for the domain transfer). Once you request the domain transfer, your domain registrar may email you with a link to confirm your domain transfer. I am not sure if it was after this final confirmation or not, but then you will be able to retrieve an Auth Code from your account page on your old domain registrar.
This code will be required for your new domain registrar to be able to transfer your domain from the old registrar. It may vary depending on your registered domain registrar so do check the official docs about it.
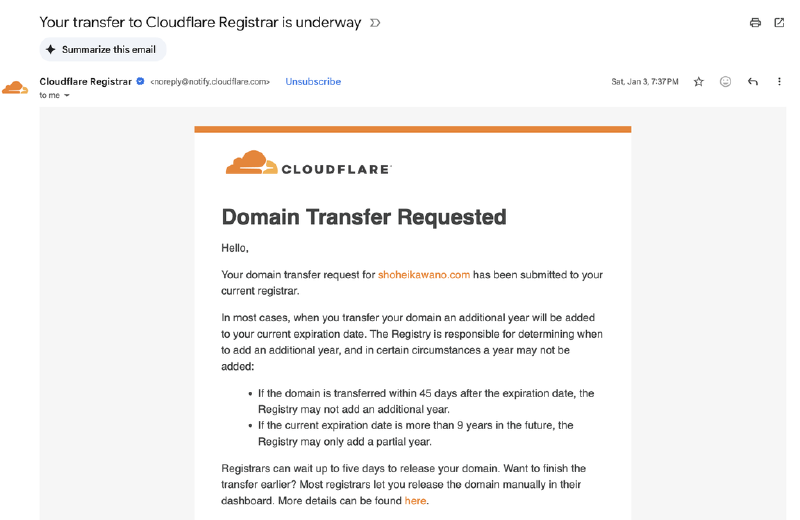
Then, after doing some setup inside Cloudflare Registrar using the auth code, I was able to receive this email saying that Cloudflare requested the domain transfer to my current domain registrar at that time (which was Muu-muu domain).
Shortly after (less than an hour), I got this message saying that the transfer was complete.

Facing SSL certificate issue with GitHub Pages + Cloudflare Registrar#
After successfully moving from Muu-muu domain to Cloudflare Registrar, I faced this issue of SSL certificate - it kept saying me that GitHub Pages could not enforce https for my site. I could not fully understand the cause of it, but it sounded something related to Cloudflare proxy. Due to this proxy, GitHub Pages authentication system can not confirm the server, resulting in the failure of generating and/or updating the certificate. I have also read that even it can successfully generate the certificate, it cannot update it automatically, so you need to manually update the Cloudflare config regularly. Maybe this is not true right now, or I have totally misunderstood it.
Onto GitHub Pages → Cloudflare Pages#
At this point, I was leaning toward the idea that since Cloudflare console seems easy to use and there should be a lot of documents available to me, why not host pages with Cloudflare Pages as well, since Cloudflare Registrar + Cloudflare Pages should work nicely together.
It was fairly easy to migrate Cloudflare Pages from GitHub Pages.
You can set up Cloudflare Pages GitHub Integration. I also checked how to deploy a hugo site using Cloudflare Pages.
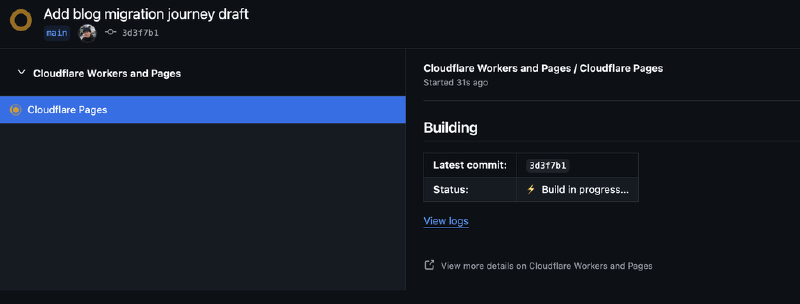
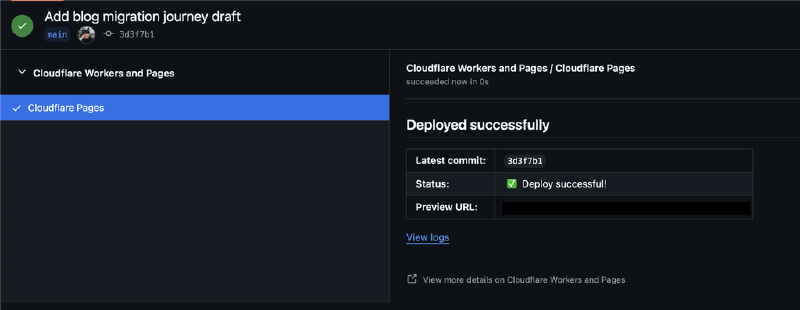
After setting it up, once you make changes in the main branch this integration will run the deployment command and generate URLs to the preview site, etc.
I noticed that by default, draft articles will not be rendered on the preview site, you can achieve that by passing -D argument to the build command. I let AI generate build.sh command that automatically determines if it needs to render draft articles as well by checking the branch name. So, in the end, I have a script that does something like this:
- If it is the
mainbranch, then it will minify and publish as a production site - Otherwise, set preview URL as a base URL of the site and build draft articles as well
Maybe I do not need this kind of custom script by configuring Cloudflare Pages GitHub integration and/or Cloudflare Pages deploy configuration, but I am not sure.
Redirect configurations#
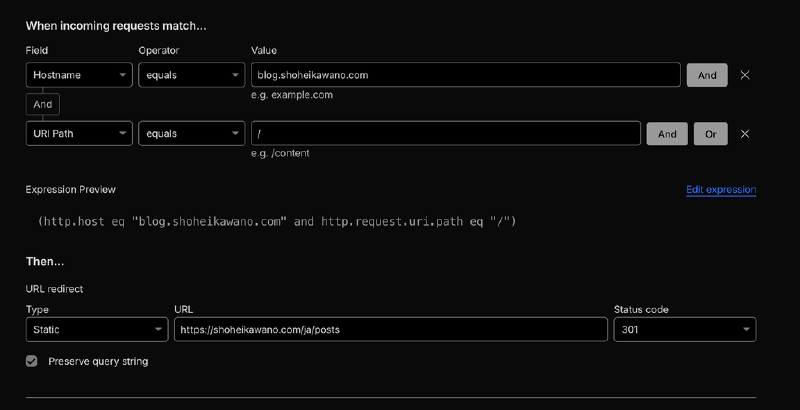
Along with some UI polish for my site, I did set up some redirect configurations using redirects so that -
blog.shoheikawano.comredirects toshoheikawano.com/ja/posts- As I was writing all of my blog posts in Japanese at that time
blog.shoheikawano.com/entry/:slugredirects toshoheikawano.com/ja/posts/:slug- In hatena blog posts, all the blog posts contain
/entry/path
- In hatena blog posts, all the blog posts contain
You can set redirects using Rules in the console, or you can write redirect rules inside static/_redirects. I tried to manage all the redirect handling inside this file in the code, but somehow I needed to leave one redirect rule blog.shoheikawano.com redirects to shoheikawano.com/ja/posts on the console as well, otherwise it does not redirect properly somehow.
In the end#
It was quite a long journey for me to migrate all those services, but it was worth it, I suppose! I was able to reduce costs for maintaining my blog service, while being able to have multilingual posts, and have a chance to try out new things especially related to Cloudflare.
Send me a message if you are interested in some of the migration that you want to have and have questions, etc. related to the content of this blog post. Also, corrections and any suggestions to improve this blog post would also be more than welcome.
Thanks, and happy blogging!